
Major home repairs rarely begin as major problems. A roof replacement often starts with a single lifted shingle, a rotted subfloor with a hairline crack in grout, a flooded yard with an overfilled tank, and a dead compressor with a weak capacitor or clogged coil. These early faults are small, inexpensive, and easy to correct, yet they are also easy to overlook because they rarely announce themselves. Left alone, each one gives water, heat, wear, or electrical stress a foothold, and that foothold steadily widens into damage that reaches framing, finishes, soil, and neighboring systems.
Stopping small problems early depends on knowing where they tend to start and checking those places on a regular schedule. The shell, drainage path, wet rooms, buried infrastructure, moving hardware, electrical service, and mechanical equipment all have predictable weak points. Inspecting them seasonally, correcting faults while they are minor, and upgrading components that are nearing the end of their service life keeps repair costs low and predictable. Homeowners who adopt this approach spend less over time, face fewer emergencies, and enjoy a property that remains safe, comfortable, and valuable for decades.
Sealing Lifted Shingles and Replacing Cracked Pipe Boots

Two of the most common sources of slow leaks are easy to miss from the ground. Wind gradually breaks the adhesive strips that hold shingle tabs in place, and once a tab lifts, every storm pushes water beneath it toward the nail line and decking. Plumbing vent pipes passing through the deck are sealed by rubber boots that dry out and crack after years of ultraviolet exposure, opening a gap that channels water straight down the pipe into the attic and wall cavities. These small leaks soak insulation and rot sheathing long before a ceiling stain appears.
Experienced local roofing contractors inspect the entire surface and every penetration, resealing lifted tabs with asphalt roofing cement and replacing creased or torn shingles with matching material fastened with ring-shank nails. Cracked pipe boots are replaced with silicone, lead, or multi-piece collar flashings that resist UV breakdown, set beneath the upslope shingles so water sheds properly. Exposed nail heads are sealed, damaged decking is replaced, and attic ventilation is checked to keep the assembly dry and extend the life of the entire system.
Sizing Cooling Capacity and Setting Matched Condensers
Many cooling problems trace back to the original installation. Equipment sized by rule of thumb rather than calculation often ends up oversized, cooling rooms quickly but shutting off before removing enough humidity. The result is clammy air, short cycling, and extra wear on compressors and contactors. Undersized systems run nonstop and still fall behind on hot days. When a new outdoor condenser is paired with an old or mismatched indoor coil, the system never reaches its rated efficiency and may suffer from refrigerant and airflow problems.
Qualified ac installers begin with a Manual J load calculation that accounts for insulation, window performance, air leakage, and orientation, then select equipment that matches the home’s actual cooling load. Variable-speed or two-stage systems are often recommended for better humidity control and quieter operation. The condenser and indoor coil are installed as an AHRI-matched pair, set on a level pad with proper clearance, and connected with line sets brazed under a nitrogen purge. A deep vacuum, weighed-in charge, and airflow verification confirm the system performs as designed.
Rebuilding Leaky Shower Pans and Replacing Rotted Subfloors
Shower pans fail quietly. Older installations often rely on tar paper or thin liners beneath a mortar bed, and over time those liners crack, separate at the drain, or were never properly sloped to begin with. Water that slips through cracked grout pools on the liner instead of draining away, eventually leaking into the subfloor and joists below. The first signs may be loose tile, a soft spot near the shower curb, a musty odor, or a stain on the ceiling of the room below.
An experienced bathroom remodeling contractor removes the shower floor and surrounding tile to expose the full extent of the damage, cutting out rotted subfloor back to sound material and sistering or replacing weakened joists. New plywood is glued and screwed to the framing, and a properly sloped mortar bed or prefabricated foam tray is installed at about a quarter inch per foot toward the drain. A continuous waterproofing membrane ties into the drain flange and walls, and a 24-hour flood test confirms the pan holds water before new tile is set.
Pumping Settled Sludge and Replacing Corroded Baffles
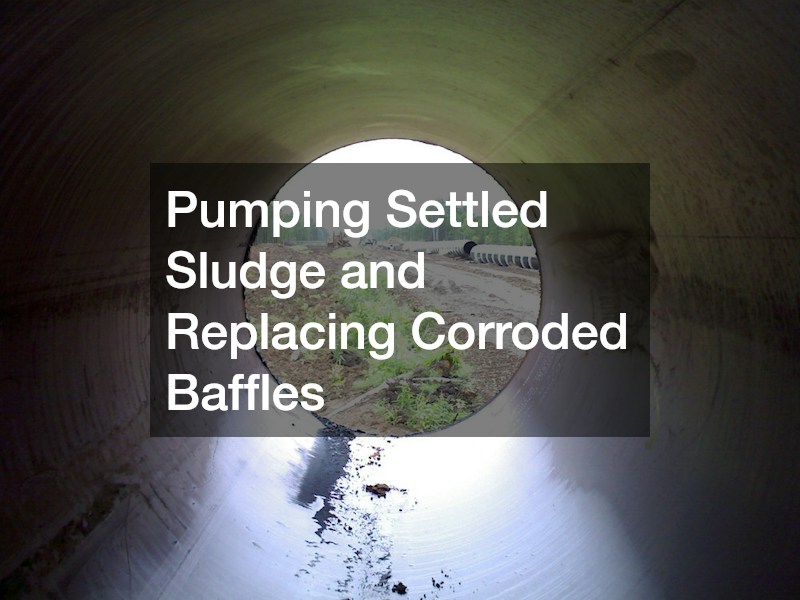
Buried wastewater tanks accumulate solids steadily, and when they go too long between pumpings, sludge and scum leave little room for liquid to settle. Solids then escape through the outlet and into the drainfield, where they clog soil pores and lead to slow drains, odors, soggy patches, and eventually sewage backups. Concrete baffles inside the tank add to the risk, as hydrogen sulfide gas corrodes them until they crumble and stop holding back scum.
Routine septic tank services begin with locating and exposing the access lids, then measuring sludge and scum depths to gauge how quickly the tank is filling. The tank is pumped completely through the main lid rather than a small inspection port, and technicians inspect inlet and outlet baffles, tank walls, and the effluent filter. Corroded baffles are replaced with PVC sanitary tees, filters are cleaned, and risers can be installed to bring lids to grade so future service is faster and less disruptive to the yard.
Adjusting Worn Rollers and Rebalancing Tired Springs
Overhead entries operate thousands of times each year, and their moving parts wear gradually. Steel rollers develop flat spots and worn bearings, causing the panel to shudder, scrape, and grind along the tracks. Torsion and extension springs lose tension over time, leaving the panel heavier than the opener was designed to lift. An unbalanced panel strains the opener motor, wears out gears and drive belts, and increases the risk of a sudden spring or cable failure.
Reputable garage door companies begin with disconnecting the opener and testing the panel’s balance by hand, then inspecting rollers, hinges, tracks, cables, and springs. Worn rollers are replaced with sealed-bearing nylon models that run more smoothly and quietly, and loose hinges and track brackets are tightened. Springs are adjusted to the correct tension or replaced in matched pairs, cables are inspected for fraying, and moving parts are lubricated. Safety sensors and auto-reverse settings are tested before the opener is reconnected.
Tightening Loose Breakers and Upgrading Overloaded Service
The main breaker box is the heart of a home’s wiring, and small problems there can have serious consequences. Breakers and lugs loosen as conductors heat and cool, increasing resistance and generating heat at the connection. Corrosion on bus bars, scorched breaker housings, and buzzing sounds signal trouble. Many older homes also have service capacity that cannot keep up with modern loads, leading to frequent tripping, overloaded circuits, and the temptation to add circuits beyond what the equipment can safely support.
Upgrading an outdated electrical panel begins with a thermal imaging scan to locate hot spots and a load calculation to determine whether the existing service is adequate. Loose breakers and lugs are tightened to manufacturer torque specifications, and damaged breakers or bus bars are replaced. When capacity is insufficient, the service is upgraded, often to 200 amps with a new meter base and modern breakers. AFCI and GFCI protection is added where required, grounding and bonding are verified, and a whole-home surge protector shields sensitive equipment.
Detecting Hidden Shell Leaks and Testing Circulation Equipment

Swimming areas can lose water through problems that are invisible from the deck. Hairline cracks in the shell, failing seals around lights and fittings, and leaks in buried suction and return lines allow water to escape into the surrounding soil, washing away support and raising water and chemical costs. Circulation equipment wears just as quietly. Pumps develop leaking seals and noisy bearings, filters lose efficiency, and valves stick, leaving the water cloudy and harder to sanitize.
A thorough pool inspector begins by evaluating water loss using a bucket test to separate evaporation from true leaks, then examines the shell, tile, coping, lights, and fittings for cracks and failed seals. Dye testing pinpoints leaks at fittings and cracks, while pressure testing isolates suction and return lines. Circulation equipment is checked for pump flow, motor amperage, seal leaks, filter pressure, valve operation, and proper bonding. A written report documents findings and prioritizes repairs before small leaks grow into structural damage.
Felling Decayed Trunks and Clearing Overhanging Limbs
Decay can hollow a trunk long before the canopy shows obvious decline. Fungi entering through old wounds and broken limbs break down the wood that supports the structure, and cavities, fungal conks, and peeling bark signal advancing weakness. Limbs overhanging the house scrape shingles, drop debris onto the eaves, and provide a bridge for squirrels and rodents. During storms, a decayed trunk or heavy overhanging limb can fail suddenly, causing serious damage to the structure below.
A professional tree removal company begins with an arborist’s assessment of decay, lean, and surrounding targets, sometimes using resistance drilling to measure sound wood. Overhanging limbs are rigged and lowered with ropes and friction devices to protect the house, and decayed trunks are dismantled in controlled sections, using a crane when space is tight. Stumps are ground below grade, debris is chipped and hauled away, and nearby specimens are inspected for similar decay or weak branch unions.
Rehanging Sagging Troughs and Extending Short Downspouts
Rain collection channels along the eaves carry enormous volumes of water during storms. When hangers loosen or spikes back out of the fascia, runs sag and pitch backward, holding standing water that adds weight and accelerates the problem. Overflow spills over the edge, soaking fascia boards and siding. Short downspouts compound the issue by dumping concentrated water right beside the foundation, where it erodes soil, saturates crawlspaces, and finds its way into basements.
Restoring a sagging gutter begins with clearing debris and inspecting the fascia for rot, replacing damaged boards before remounting. Loose spikes and ferrules are replaced with hidden hangers screwed into rafter tails about every two feet, and the run is re-pitched toward its outlets. Leaking seams and end caps are resealed, and short downspouts are extended with rigid extensions, splash blocks, or buried PVC lines that carry water several feet from the foundation to pop-up emitters or dry wells.
Sealing Leaky Ductwork and Balancing Room-to-Room Airflow
Duct leakage is one of the most common and overlooked sources of wasted energy. Joints taped with aging cloth tape separate over time, flex ducts become crushed or disconnected, and boot connections at registers leave gaps around ceilings and floors. In attics and crawlspaces, this leakage dumps conditioned air into unconditioned space and pulls in dusty, humid air through return leaks. Rooms at the end of long runs stay uncomfortable while the equipment runs longer to compensate.
Experienced HVAC contractors begin with a duct leakage test and airflow measurements at each register to identify losses and imbalances. Joints, seams, and boot connections are sealed with water-based mastic or UL-181 foil tape, disconnected runs are reattached with mechanical fasteners, and crushed flex duct is replaced or supported properly. Balancing dampers are adjusted to deliver the designed airflow to each room, attic ducts are insulated, and final measurements confirm consistent comfort throughout the home.
Every major repair has a beginning, and that beginning is almost always small. A lifted shingle, a cracked vent boot, a failing shower pan, an overfilled tank, a worn roller, a loose breaker, a hairline crack in a swim basin, a decaying trunk, a sagging channel along the eaves, or a leaky duct joint can each grow into a costly problem when left unattended. Because these issues often develop out of sight, they can spread for months before anyone notices.
Preventing that progression comes down to consistent inspection and prompt action. Seasonal walks around the exterior, annual checks of the shingles and drainage, routine mechanical and electrical evaluations, periodic wastewater pumping, and inspections of outdoor features and mature landscaping catch faults while they are still inexpensive to fix. Upgrading worn components before they fail completely reduces the risk of emergency repairs and keeps maintenance costs predictable.
The reward is a home that stays safe, dry, and comfortable with far fewer surprises. Systems run efficiently, finishes last longer, and the structure holds its value year after year. By addressing small problems before they turn into major repairs, homeowners protect both their property and their budget for the long term.