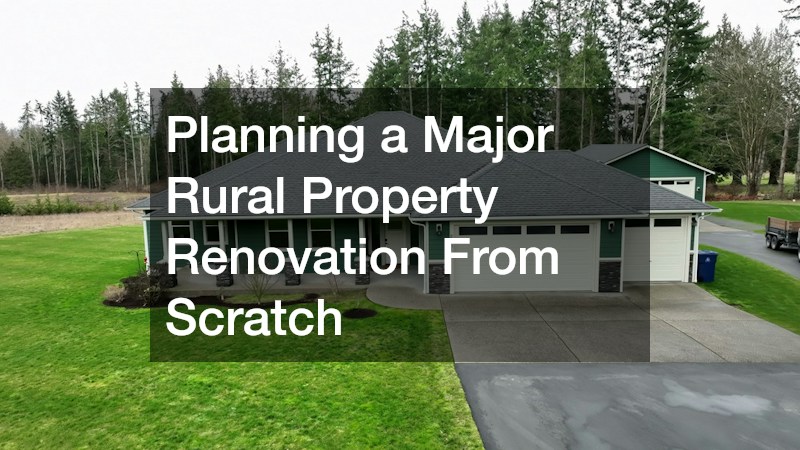

Buying a sprawling piece of rural acreage or a weathered country farmhouse carries a distinct kind of excitement. You picture wide-open views, quiet mornings, workshop space for every project you have ever wanted to tackle, and total independence from cramped suburban lots. Yet the moment you close on the property and walk the land with a tape measure, reality sets in. Out in the country, there is rarely a municipal water main at the street, no city sewer line to tap into, and no big-box hardware store five minutes down the road when you run short on framing nails at four in the afternoon.
Most rural renovations stall or blow past their budgets not because the property owner lacks grit, but because the work happens in the wrong order. Pouring a fresh gravel driveway before heavy excavation equipment arrives guarantees you will pay to grade and stone it twice. Framing walls before confirming water flow rates or underground soil stability can turn an ambitious dream into a regulatory and financial headache.
Successful country renovations rely on disciplined sequencing: working from below the frost line up, and from the outer perimeter inward. By tackling hidden hazards, site clearing, off-grid utilities, and weather-tight storage before touching interior finishes, you protect your wallet and keep your hands-on DIY momentum alive from day one.
1. Assess Subsurface Hazards and Test Soil Stability

Before you order a single stick of lumber or sketch floor plans for outbuildings, you need to know what is happening beneath your boots. Rural properties often carry decades of agricultural or residential history that never made it onto a county disclosure form. Taking two weeks to investigate underground conditions saves you from catastrophic surprises once heavy machinery begins digging.
Walk the Perimeter and Map Forgotten Underground Infrastructure
Grab a notepad, high-visibility marking flags, and a metal probe rod, and walk every square foot of the property—especially within fifty feet of existing dwellings, barns, and old tractor sheds. Decades ago, heating fuel was routinely stored in buried steel vessels that eventually corrode and leak into surrounding groundwater. Look closely for telltale clues:
- Thin galvanized steel vent pipes sticking up near foundation walls or tucked inside overgrown shrubbery.
- Copper fuel lines entering a basement wall or crawlspace that no longer connect to an active furnace.
- Rectangular patches of sunken soil, dead grass, or distinct kerosene odors after a heavy rainstorm.
- Old concrete pads sitting away from the main house that once supported fuel stands or agricultural equipment.
If you uncover an abandoned underground tank, halt excavation in that zone immediately and arrange for professional oil tank removal before applying for building permits. Certified remediation specialists pump out residual sludge, extract the vessel safely, and collect soil samples to prove to local environmental agencies and future insurers that your acreage is clean.
Verify Bedrock Depth and Load-Bearing Capacity Before Designing Foundations
Rural acreage rarely features uniform soil. One corner of a five-acre parcel might sit on dense, well-drained sandy loam, while two hundred feet away lies expansive clay, a seasonal high water table, or shallow limestone bedrock. Designing foundations, septic drain fields, or retaining walls without subsurface data is pure guesswork.
Hiring a geotechnical drilling company to bore test holes at your proposed building footprints gives you exact measurements of soil composition, bedrock depth, and water table elevation. Armed with a core log, you will know ahead of time whether you can pour standard spread footings, whether you need deeper frost piers, or if rock hammering will be required for utility trenches—allowing you to budget accurately before breaking ground.
2. Clear Unsalvageable Structures and Stage Waste Logistics
Many rural fixer-uppers come with collapsing tobacco barns, leaning equipment sheds, or half-rotted chicken coops that look charming from the highway but pose serious safety hazards up close. Clearing dilapidated structures opens up usable sightlines and building pads, provided you separate valuable salvage from hazardous debris and plan your haul-away logistics carefully.
Separate Salvageable Barn Wood From Structural Tear-Downs
Before bringing in heavy equipment, spend a weekend harvesting anything worth saving. Old-growth oak beams, weathered barn siding, vintage sliding door hardware, and corrugated metal roofing panels can either be reused in your renovation or sold to local woodworkers to offset site-prep costs. Stick to safe, ground-level salvaging:
- Pry off loose exterior siding boards from the ground up using a wide wrecking bar rather than climbing unstable rafters.
- Remove antique hinges, latches, cast-iron sinks, and intact window sashes before structural walls are disturbed.
- Stack salvaged timber on level blocks off the dirt and cover the top layer with breathable tarps so it stays dry and straight.
Once you reach sagging rooflines, cracked masonry chimneys, or structures built prior to the late 1970s that may contain asbestos siding or lead paint, step back. Bringing in an insured demolition service equipped with excavators and grapple attachments turns a dangerous, month-long DIY slog into a clean two-day operation. Verify that your contractor disconnects all overhead or underground power lines first and leaves the building pad rough-graded and free of buried concrete chunks.
Time Your Roll-Off Containers to Avoid Rural Delivery Surcharges
Rural haulers often travel thirty to fifty miles each way to service remote properties, which means poor container planning quickly eats into your renovation budget through fuel surcharges and daily extension fees. Instead of ordering small containers piecemeal, calculate your total debris volume upfront and stage heavy-duty roll-off boxes strategically:
- Place containers on firm, level gravel or compacted dirt—never over septic tanks, drain fields, or shallow water lines, as a loaded roll-off truck can weigh over twenty-five tons.
- Ensure at least sixty feet of straight-line clearance in front of the container and eighteen feet of overhead clearance free of low-hanging oak branches or utility wires.
- Load heavy materials like plaster, masonry, and roofing shingles evenly across the bottom, breaking down bulky framing lumber so air pockets do not waste valuable cubic yardage.
Coordinating drop-offs and swap-outs with a reliable dumpster rental company right before tear-down begins keeps sharp nails, broken glass, and rotting wood off your pasture while ensuring full containers are hauled away promptly so your crew never sits idle.
3. Secure Reliable Off-Grid Water and Backup Power
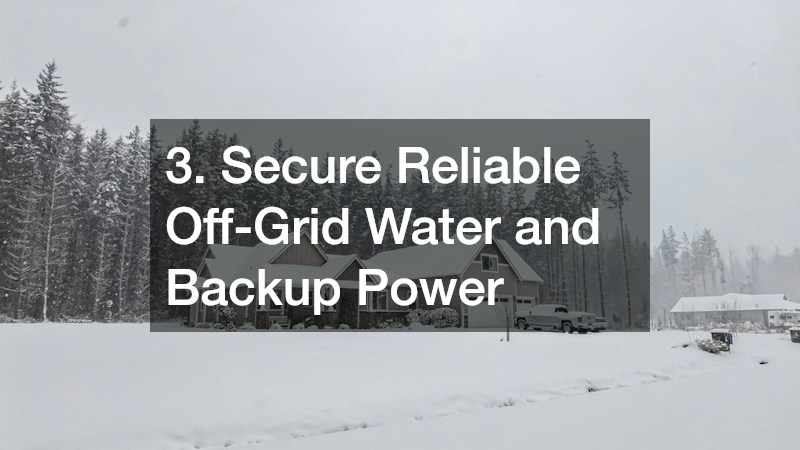
No renovation can move efficiently without clean water on tap and dependable electricity to run saws, compressors, and climate control. On rural land, you act as your own municipal utility district, so upgrading water and power infrastructure early prevents bottlenecks during framing and drywall installation.
Lock In Clean Water Flow Rates Before Framing Begins
If your property relies on an aging shallow dug well or has no water source at all, make water security your top priority. Modern households—especially those supporting workshops, gardens, or livestock—typically need a sustained yield of at least five to ten gallons per minute, alongside proper static water depth and sanitary wellhead protection.
Reach out to reputable water well and drilling companies early in the planning phase, as experienced drillers are frequently booked months in advance.
Audit Existing Standby Power Systems Before Relying on Them for Tools
Rural power grids rely on miles of exposed overhead lines running through wooded corridors, making brownouts and multi-day storm outages a normal part of country life. If you are running high-draw table saws, air compressors, or well pumps—or keeping a newly plumbed house above freezing in January—an unreliable power supply can ruin thousands of dollars of work overnight.
If your property already has a standby unit installed by a previous owner, do not assume it will fire up under load. Before construction starts, inspect the battery terminals, check coolant and oil levels, verify that the automatic transfer switch cycles cleanly, and schedule professional generator repairs for worn starter solenoids, cracked fuel lines, or fouled carburetors. If you are buying a new standby or PTO-driven unit, size it to handle the starting surge wattage of your deep-well pump alongside essential heating circuits and workshop outlets.
4. Pour Foundations and Build Multi-Purpose Outbuildings First
Most homeowners instinctively want to start renovations inside the main house, tearing out kitchen cabinets or framing new bedrooms right away. On a rural property, flipping that order—building a dedicated outbuilding first—transforms how smoothly the rest of the renovation runs.
Calculate Pour Volumes Accurately and Prep Access Roads for Heavy Trucks
Before scheduling any concrete work, walk your driveway and access paths with a critical eye. A fully loaded ready-mix truck weighs roughly sixty-six thousand pounds and needs a firm base, wide turning radii, and solid culverts to reach your pour site without sinking to its axles. Booking your concrete delivery for an early morning slot helps avoid midday heat that accelerates curing, and having at least three helpers on site with bull floats, come-alongs, and screed boards ensures you can finish the slab smoothly before it sets.
Construct Weather-Tight Storage Early to Protect Materials and Equipment
Once your slab has cured, framing and enclosing a new garage before gutting the main house gives you an immediate headquarters for the entire renovation. Instead of tarping expensive hardwood flooring, cabinetry, and power tools in the yard—or paying monthly fees for off-site storage units—you gain a dry, lockable space right beside your work zone.
5. Source Bulk Materials and Streamline DIY Procurement
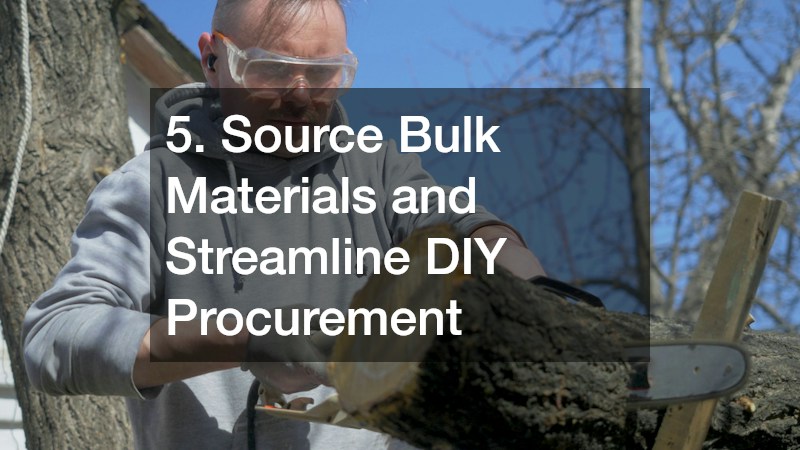
When the nearest hardware store is a forty-five-minute drive each way, disorganized shopping turns a productive Saturday into four hours behind the wheel. Treating material procurement with the same discipline as a professional builder keeps your project on budget and prevents mid-project stalls.
Open Trade Accounts and Consolidate Deliveries to Cut Freight Costs
Retail home centers are convenient for small weekend repairs, but buying framing packages, insulation, drywall, and roofing for an entire property at retail shelf prices drains your budget fast. Visit regional lumberyards and commercial contractor supplies distributors near your property to open a cash or trade account before ordering major phases.
Bulk suppliers routinely offer volume tier pricing, higher-grade straight kiln-dried lumber, and boom-truck delivery that places drywall stacks or roofing bundles directly where you need them. Group your orders by construction stage—framing, rough mechanicals, insulation, and trim—so you pay a single delivery fee per phase. When bulk materials arrive, stack lumber on level dunnage stickers spaced every two feet and wrap bundles loosely in heavy-duty tarps that allow airflow underneath while shedding rain.
Build a Standardized Fastener and Tool Kit for Remote Workdays
Nothing kills DIY momentum faster than snapping your last masonry bit or running short of three-inch structural screws at noon on a Sunday. Keeping a laminated inventory sheet clipped to your supply rack lets you jot down low items immediately so they go onto your next scheduled town run rather than turning into emergency trips.
6. Reclaim Disturbed Acreage and Establish Low-Maintenance Grounds
After months of excavators, delivery trucks, and trenching equipment crisscrossing your yard, your once-peaceful acreage will likely look like a muddy construction zone. Resist the urge to leave grading and turf restoration until next year, as bare subsoil erodes quickly and invites invasive weeds to take over.
Regrade Heavy Equipment Ruts and Control Erosion Before Seeding
Heavy machinery compacts soil tightly, preventing rainwater from soaking in and starving grass roots of oxygen. Partnering with experienced local lawn care services for heavy post-construction aeration, overseeding with region-specific pasture or turf blends, and straw mulching helps establish deep root systems quickly before summer heat or winter freeze-thaw cycles wash away your grading work.
Create Defensible Firebreaks and Clear Sightlines Along Driveways
Once healthy ground cover is established, set up a simple seasonal maintenance routine tailored to rural acreage rather than manicured suburban lawns. Keep tall field grasses mowed low within thirty feet of all buildings to create a defensible buffer against brush fires and reduce rodent pressure around foundations. Prune low-hanging tree limbs along your driveway lane so delivery trucks, emergency vehicles, and snowplows have clear passage year-round, and keep drainage culverts free of autumn leaves so spring snowmelt never washes out your roadbed.
Pulling Your Rural Renovation Together

Transforming a raw or neglected country property into a comfortable, resilient home is one of the most rewarding projects a hands-on homeowner can take on. While the sheer scale of acreage work can feel intimidating at the outset, success comes down to respecting the natural order of construction. When you verify what lies underground, clear hazards safely, lock in dependable water and power, and build weather-tight storage before diving into interior finishes, every subsequent step becomes faster, cleaner, and far less expensive.