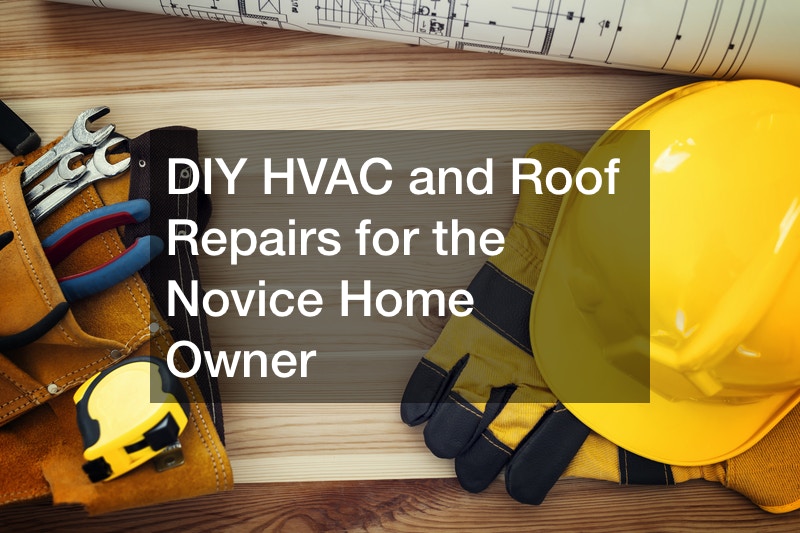
Your roof and HVAC system are often highly connected because many HV AC units are placed on top of homes. As a result, it is crucial to understand a few simple DIY HVAC troubleshooting methods for these roof units and other steps that may be necessary for keeping your home safe and secure.
Each of these steps will help rep air conditioning issues and won’t require any professionals to handle these steps. That said, there may be situations in which a local roofer is required, such as if you make mistakes in your repairs that require a professional to manage to avoid complications properly.
Step One: Clean Out the Condenser Coils

The first step in your DIY HVAC troubleshooting process is to clean out your condenser coils. This step is something that you won’t need an HVAC service professional to manage. Instead, it is something that you can easily do without getting help to cut back on the amount of money you have to spend.
The condenser coils must be cleaned out regularly to ensure that the system operates properly. If you don’t clean them out, there’s a good chance that the unit will freeze up with operation. As a result, it is essential to perform these steps at least once or so a year to ensure proper operation with your unit.
If you do somehow make a mistake with this process, it is important to contact HVAC maintenance professionals who you can trust to handle this need. Though it should be fairly easy to handle the steps below, these professionals will do what is necessary to repair any damage you may cause by accident:
- Find a good garden hose and hook it up to a steady supply of water from your home
- Take the house over to your air conditioner unit and identify the condenser coils at the top
- Please turn on your water supply and use a spray attachment to make it more focused for cleaning
- Spray the top of the coils with a controlled burst of water to break apart dirt and mold
- Make sure you only use a gentle stream and not the full-powered blast to avoid damage
- Carefully move the spray around throughout the inside of your condenser to break apart this sludge
- Wait for the water to dry before inspecting the interior of your unit to look for more dirt
If you take this DIY HVAC troubleshooting step properly, your system should start operating smoothly and efficiently again. However, you may find that some units don’t react immediately or that this step may not be enough for you to properly remove all the dirt and debris from your coils.
Avoid turning up the power of your water spray when going through this process, though. Too much power will ultimately cause damage to the interior of your unit and your condensers that may severely damage its interior and cause your HVAC system to function poorly or even fail, triggering even more issues with your unit’s operation.
Most of the time, this step should be enough to keep your system operating fairly efficiently without a lot of challenges. That said, there are times when you may end up having to perform other steps. This situation is most likely why the following steps are often so necessary for keeping your unit in great shape with minimal fuss.
Step Two: Simple Electronic Repair Steps

While it is usually best to have a professional handle the electronics of your AC units to prevent serious damage, there are a handful of DIY HVAC troubleshooting steps that you can do for the electrical aspects. These steps help to protect the interior and exterior of your system and avoid damage.
Therefore, when you’re repairing your air conditioning and heating system and want to do it properly, it is important to follow these steps. Each will provide you with easier access to a myriad of different elements and will be useful for different circumstances in your conditioning unit:
- Start by checking your fuses using the steps below, each of which is carefully designed for DIY use
- Purchase a multimeter and set it to the lowest possible Ohms scale that it will allow
- Open up your fuse box and carefully touch the red and black leads to each end of the fuse
- Watch the reading to make sure that you get a numerical reading – keep the fuse in place if you do
- Remove any fuses that show a minus, infinity, or zero symbols, using the appropriate type
- Check for broken wires in the access box following the steps below
- Carefully follow the electrical connection to where it attaches to the air conditioner
- Open up the access panel here and check for any potential problems that may linger here
- Remove rodent nests and use pest control to manage other vermin that may damage this area
- Replace broken parts, worn wires, or anything else that may cause troubles with the system’s operation
- Discharge the dual start capacitor following the next few steps below
- Find the capacitor and carefully remove it from the retaining bracket on the unit
- Touch an insulated screwdriver between the H and C terminals to discharge static
- Find the F and C terminals and do the same step as above to discharge their electricity
These simple DIY HVAC troubleshooting steps should help to get your unit back into some operative form. Many of these common problems are easily controlled by homeowners and shouldn’t require a lot of work to do properly. That said, it is important to make sure you fully understand these factors.
Make sure that you have the proper tools to handle all of these steps, reaching out to air conditioner repair professionals or maintenance shops to find them. These should include things like gloves, various types of protective gear, and other items that will easily fit on you with no challenge.
Step Three: Check the Connectors for Your Unit

Your roof-based HVAC unit is likely to be exposed to various types of wear and tear problems that may become more severe if you let them spread. Often, these concerns can affect the operation of your unit and even cause damage to your roof that may make it harder to operate properly.
As a result, it is important to get on your roof and perform these simple DIY HVAC troubleshooting steps to keep your unit and roof as safe as possible. Make sure that you follow all the proper safety steps, including having a second person with you at all times, when you take steps like:
- Inspecting Your Roof and Unit – Look at the various connections for your unit, including the screws and bolts holding them to the roof. Are these in strong shape, or do they need to be removed? Pay attention to any decay around the unit that may spread throughout the rest of the structure. In some cases, you may need roofing contractors to repair these problems but may be able to do them yourself.
- Noting Sun Damage – Is there any sun damage to your units, such as a fading of the surface or any other complications that may cause it to run improperly? You may need to invest in a cover that goes over the unit but doesn’t block it from operating properly. Many an AC contractor should be able to help you find something like this for your home, though you may also find them online as well for easier purchase.
- Spotting Water Damage – Though sun damage may impact your HVAC unit, it’s more likely that your DIY HVAC troubleshooting is likely to spot water-related damage. That’s because water problems are very common on roofs and can be very hard to repair properly. Thankfully, it should be easy for you to find a few different ways to avoid this problem and keep your system and roof safe from damage.
- Tracing Leaks in Your Roof – Leaks throughout a roof may occur if your HVAC system leaks water as it operates and you don’t manage this problem properly. Look for leaks in your roof by checking inside the home, looking for various issues throughout the rest of the house, and using professionals to trace them to their source. This process is sometimes challenging but rewarding for roof health.
- Taking these steps will help cut back on the potential issues that your system and roof may experience by making them easier to diagnose and track. However, more extensive roof repair steps must be taken to ensure that this problem doesn’t worsen throughout your home.
Thankfully, there are many steps that you can take to ensure that your DIY HVAC troubleshooting is handled properly and doesn’t cause any long-lasting concerns with your home. In the next section, we’ll go over a handful of these simple repairs to make it easier for you to understand what must be done to protect your home.
Step Four: Repair Your Roof Properly
The last step in your DIY HVAC troubleshooting process is to repair your roof, particularly around areas where the air system is located. Damage to the roof may cause many other problems that may rapidly spread and become frustrating and hard to manage. Thankfully, a handful of steps should help you out in this process. So make sure that you:
- Replace Shingles – Carefully remove any damaged shingles using a pry bar and throw them away. Pay particular attention to the shingle around your air conditioning unit to avoid even worse damage. Replace them with better and more secure tile roofing that is strong enough to stay protected for years to come. Doing so will help to ensure that you are delighted with your roof for years to come.
- Clean Out the Gutters – The roof’s gutters should be free of debris like leaves, various types of animal nests, and other items that can cause it to operate poorly. Clean all of these items out to ensure that you have a smooth water flow, one that doesn’t impact your roofing unit. Also, pay attention to where water falls out of your gutters to provide the long-term protection needed to keep your roof safe.
- Upgrade Your Battens – The roof’s battens or lathes are usually made out of wood and help to support your roof. However, they may get easily damaged if they are allowed to age poorly and require replacing them properly. Try to buy metal roof battens for your whole roof and use high-strength ones, particularly around your HVAC unit, to ensure that it doesn’t experience any long-term damage.
- Repair the Flashings – Each roof has various peaks and valleys that need to be carefully protected to avoid damage. The flashing in the valleys is particularly critical because it helps to prevent water damage from pooled moisture. Ensure to replace these items if they are damaged, especially near your HVAC unit, to provide the long-lasting strength that it needs to stay secure and safe.
If you follow these DIY HVAC troubleshooting steps, you should have little reason to call a roofing or HVAC professional. You’ll not only save yourself a lot of money but also take your repairs into your own hands, which is always a rewarding situation for those who can handle these steps with the proper ease.
Don’t Be Afraid to Repair Your Home

As you can see, DIY HVAC troubleshooting isn’t as challenging as you may have expected. Though these steps may seem a little overwhelming to some people, most homeowners should have the basic skills necessary to manage them, as long as they are careful and avoid serious risk as they work.
However, if you find that you are not comfortable with this process and aren’t sure how to handle the demands it places on you, it is important to reach out to professionals who can help. Though it may cost you more money, it will prevent long-term damage that could affect your operation for years.
