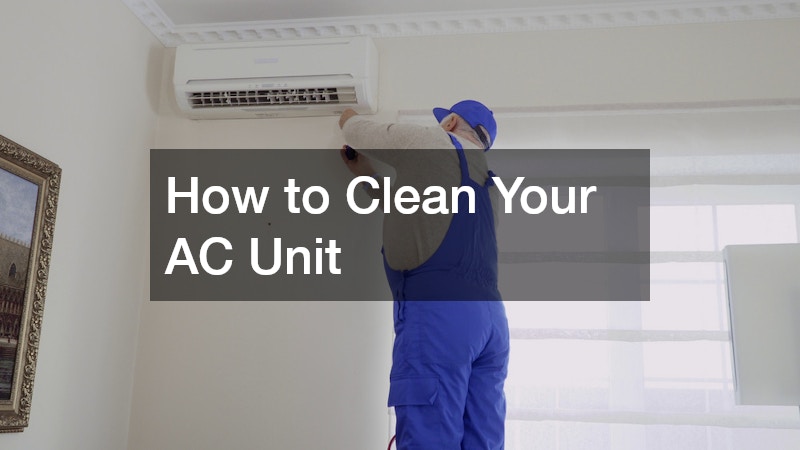
Keeping your air conditioning unit clean is vital for its efficiency and longevity. Neglecting regular maintenance can lead to reduced cooling efficiency, higher energy bills, and potential breakdowns, which could be expensive to repair. A clean AC unit not only provides consistent comfort during the hot months but also ensures cleaner air quality within your home, crucial for individuals with allergies or respiratory issues.
Regular maintenance involves more than just changing the filters; it requires a thorough inspection and cleaning of its components. By understanding the key components in your AC unit and their roles, you can efficiently maintain the system and identify minor issues before they escalate.
To ensure comprehensive care, many homeowners opt for professional air conditioning service to handle the more technical aspects of maintenance.
Neglecting your AC unit’s maintenance can lead to costly repairs or even full replacement, which could be avoided with routine care. It is recommended to clean your air conditioning unit twice annually, ideally at the start and end of the cooling season. This not only boosts the unit’s efficiency and performance but also prolongs its lifespan, saving you money in the long run.
Gathering Necessary Tools and Materials
Effective AC cleaning requires a handful of tools and materials that you likely already have around the house. Common tools include a screwdriver, a garden hose, a soft brush, and a wet/dry vacuum. You may also need coil cleaner spray, available at most hardware stores, specifically formulated to clean air conditioning units without causing damage.
Always refer to your AC unit’s user manual for specific cleaning instructions and tool recommendations. While some parts of the cleaning process can be fairly straightforward, using the right products can prevent potential damage to sensitive components. If you’re uncomfortable or unsure about cleaning your unit, professional air conditioning service providers can ensure thorough and safe cleaning.
Having all your tools and materials ready before starting ensures a smooth and efficient cleaning process. This preparatory step saves time and reduces the risk of forgetting critical steps or using inappropriate tools that could cause damage. Remember, the key to effective DIY maintenance is preparation and knowledge about your specific AC unit.
Cleaning the Exterior of Your AC Unit
Begin by shutting off all power to the AC unit to ensure safety while cleaning. Use a garden hose to gently remove dust, dirt, and debris from the exterior casing. This step helps prevent the buildup of grime that could impede the unit’s performance.
Next, remove the fan cage on the exterior condenser/compressor. Using a screwdriver, carefully lift off the fan grill and remove any debris by hand or with a vacuum cleaner. Keeping this area clear ensures optimal airflow and prevents overheating of the compressor.
Once the exterior is cleaned, it is beneficial to trim back any plants or shrubs growing around the unit. This allows for better air circulation, improving efficiency. Approximately two feet of clear space around the AC unit is recommended to ensure it operates effectively.
Cleaning the Interior Components
Interior cleaning requires careful attention to the condenser coils, evaporator coils, and air filters. Begin by spraying the coils with a coil cleaner, following the product instructions closely. This specialized cleaner dissolves stubborn grime without damaging the sensitive components.
The effectiveness of your air conditioning is heavily impacted by clean evaporator coils, as these are responsible for cooling the air. Gently brush away any dirt or debris from the coils, using a soft brush to avoid damaging the fins. Replacing the air filter is also crucial, as a clean filter ensures better airflow and air quality.
After ensuring all interior components are clean and dry, reassemble the fan cage and secure it back onto the AC unit. Always test the unit after maintenance to ensure it is working correctly before turning it back on. If you experience any issues or unfamiliar sounds, consider reaching out to a professional air conditioning service for a more thorough inspection.
Final Steps and Ongoing Maintenance Tips
After cleaning, double-check that all components are securely reassembled and that the area around the unit is clear of obstacles. This final check prevents potential operational issues and ensures your unit is ready for use. Keeping a maintenance log with dates of cleaning and any changes or notes about performance can be helpful for future reference.
Regularly checking and changing air filters every 30 to 90 days during high-usage months can greatly enhance energy efficiency. Such ongoing maintenance ensures you’re getting the best cooling performance from your investment. It’s also a proactive step in identifying minor issues early, which could prevent costly repairs.
Consider scheduling a professional air conditioning service annually to perform a comprehensive check and maintenance of your AC unit. This professional inspection can catch any potential issues and keep the system running smoothly. Taking these proactive steps can ultimately prolong the lifespan of your AC unit, ensuring comfort through the hottest months of the year.