
Installing gutters on your home can seem like a daunting task, but with the right preparation and tools, it can be a manageable project. Gutters are essential for directing rainwater away from your home’s foundation, preventing water damage and erosion over time. Many homeowners opt for DIY installations as a way to save money and gain firsthand experience in home improvement. This guide will explore the steps necessary for DIY gutter installation, offering tips and insights to ensure a successful outcome.
Understanding Your Gutter Needs
Before beginning your DIY gutter installation, it is essential to assess your home’s needs. Start by evaluating your roof’s pitch, the surface area that will be collecting rainwater, and the climate in your area.
For example, homes in regions with heavy rainfall may require larger gutters or more downspouts to handle the increased flow. It’s also important to measure the perimeter of your roof to determine how much gutter material you’ll need. Visualizing how your gutters will integrate with your home can also prevent common pitfalls, such as misalignment or inadequate drainage solutions. Taking the time to plan appropriately will enhance the effectiveness of your gutters and ensure they serve their purpose over time.
Gathering Necessary Tools and Materials
Once you’ve assessed your gutter needs, it’s time to gather the necessary tools and materials. You will need essential tools such as a ladder, measuring tape, level, and a power saw for cutting the gutter sections to size. Remember, safety is paramount when working at heights, so invest in a sturdy ladder and consider having someone assist you during installation. In addition to tools, you’ll need to purchase the right materials including gutters, downspouts, brackets, and end caps. One possible way to save on costs is to consider aluminum or vinyl gutters, which are lightweight and relatively easy to install. Ensure that all materials you choose are suitable for your area’s weather conditions to maximize longevity and performance.
Installing the Gutters
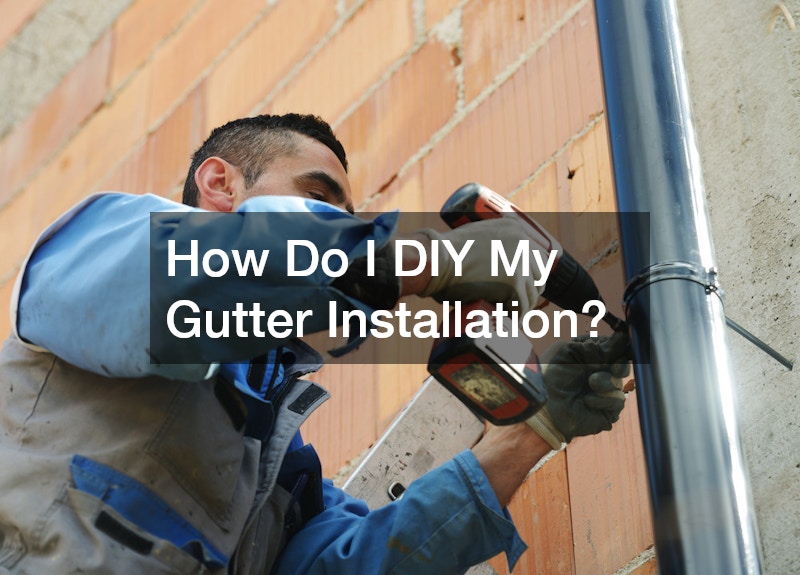
With your tools and materials ready, you can begin the installation process. Start by marking out the installation points using a chalk line to ensure the gutters slope slightly towards the downspouts for optimal water flow. Usually, a slope of ¼ inch for every 10 feet of gutter is required. Next, cut your gutter sections to size, paying attention to the angles and corners that need to be fitted correctly. Assemble the gutter sections with connectors, ensuring that they are well-sealed. For critical areas such as joints, use silicone caulk to prevent leaks. Install the brackets at regular intervals to securely hold the gutters in place, while also providing adequate support against the weight of water during rainfall. Lastly, attach the downspouts at designated points, ensuring they direct water at least four feet away from your foundation.
Ensuring Proper Drainage and Functionality
After securely installing your gutters, it’s crucial to test and ensure they drain properly. Conduct a water test after a rainstorm or use a hose to run water through the gutters, observing the flow. Look for any signs of leaks at joints or downspouts; seal any gaps you notice with caulk. Additionally, check that the water is flowing freely and that there are no blockages in the downspouts. If you notice that water pooling occurs, it may indicate improper installation or insufficient slope. To prevent clogs, consider adding gutter guards or screens, which can keep debris out and minimize maintenance. Regularly inspect your gutters throughout the year to ensure they remain functional and address any issues promptly to avoid costly repairs.
Final Touches and Maintenance
With your gutter installation complete, it’s time for final touches and ongoing maintenance. Clean up any debris from the installation process and ensure that all tools are put away safely. Take a moment to admire your handiwork! However, gutter maintenance does not stop with the installation; establishing a regular cleaning schedule is important. Ideally, gutters should be cleaned at least twice a year, especially in the fall when leaves tend to accumulate. Additionally, inspect for rust, corrosion, or damage to ensure long-term effectiveness. If you notice serious wear and tear, don’t hesitate to replace affected sections to maintain the integrity of your gutter system.
DIY gutter installation is a practical and rewarding project that can enhance your home’s functionality and aesthetics. By taking the time to plan, gather materials, and execute the installation properly, you can ensure that your gutters will effectively channel water away from your foundation. Regular maintenance and inspections will further extend the life of your gutters, protecting your home from potential water damage. Remember, the journey to DIY success is paved with patience and attention to detail, so take your time to enjoy the process. If you encounter obstacles, don’t hesitate to seek advice or consult with a professional to ensure the best results.