Tackling a complete home overhaul requires a thoughtful sequence of events to prevent costly mistakes, mid-project delays, and unnecessary rework. Property owners frequently feel eager to select paint colors, kitchen fixtures, and decorative trims early in the planning process. However, focusing on cosmetic updates before securing fundamental structural components often leads to damaged finishes down the road. Established remodeling companies emphasize starting with the exterior protective envelope and core structural systems before progressing to interior living spaces. Following a logical, step-by-step masterplan protects structural integrity while systematically building toward high-end aesthetic goals.
A comprehensive house overhaul involves balancing structural engineering, environmental controls, space conversion, and detailed interior craftsmanship. When executed in the proper chronological order, trade contractors work efficiently without interfering with or damaging completed work. This systematic masterplan outlines the exact construction sequence needed to transform an aging residential property into a secure, energy-efficient, and beautifully customized living space designed for long-term comfort. Navigating a major overhaul requires a disciplined commitment to local building codes, structural safety standards, and realistic construction timelines that accommodate every distinct phase of development. Investing time in upfront planning ensures every dollar spent yields lasting value.
Phase 1: Securing the Exterior Envelope and Drainage
Water management sits at the absolute top of any comprehensive renovation priority list. Rainwater that fails to drain cleanly away from a residential structure will eventually undermine concrete foundation footings, rot exterior wall framing, and foster hidden mold growth within interior wall cavities. Engaging a specialized gutter contractor early in the overhaul process ensures roof runoff gets collected and directed far away from vulnerable foundation soils. Seamless aluminum or heavy-gauge copper channels, paired with wide downspout assemblies, keep heavy rainwater moving efficiently during severe seasonal downpours.
A qualified gutter contractor evaluates the roof edge, fascia board strength, and pitch calculations to determine precise sizing and hardware requirements. Resolving exterior drainage vulnerabilities before undertaking major framing updates or interior wall work protects the building against structural settling, soil erosion, and basement seepage. Diverting water away from the foundation establishes a dry, secure perimeter, creating a solid base for all subsequent interior improvements. Property owners gain immense confidence knowing that future interior investments remain fully protected against unexpected weather damage and rising ground moisture across all seasons.
Phase 2: Biological Defense and Substructure Protection
Once exterior water flows cleanly away from the foundation, attention turns to internal structural framing and substructure protection. Before sealing open wall cavities with drywall or installing high-value floor coverings, homeowners must confirm that supporting timbers remain sound. Premier pest control companies perform deep structural evaluations to identify wood-destroying organisms such as subterranean termites, carpenter ants, and powderpost beetles. These insidious pests frequently hollow out floor joists, wall studs, and roof rafters without revealing obvious surface damage on interior drywall.
Hiring trusted pest control companies to apply soil barriers, timber preservatives, or targeted eradication treatments prevents catastrophic structural failures later in the building’s life. Eliminating hidden biological threats early guarantees that new subfloors, interior partition frames, and ceiling joists remain sturdy for decades. Completing this critical protective pass before closing up interior walls saves property owners thousands of dollars in emergency structural restoration down the road while safeguarding long-term structural load capacity across the entire floor plan.
Phase 3: Structural Openings and Fenestration Upgrades
Exterior wall openings dictate both the interior thermal envelope and the overall architectural style of a property. Deteriorating, drafty frames allow conditioned air to escape continuously while permitting moisture, dust, and outdoor noise to enter living spaces. Swapping out an inefficient, aging window restores high thermal resistance while stabilizing interior humidity levels throughout the year. Modern multi-pane framing units incorporate low-emissivity coatings and inert gas fills to dramatically cut heat loss through glass during cold winter months.
Beyond improving energy performance, installing a modern replacement window corrects structural framing shifts and binding issues caused by natural house settling over time. Ensuring structural headers are plumb, level, and properly supported enables modern double-hung or casement sashes to operate effortlessly. Correct perimeter flashing during installation creates a tight weather seal behind exterior siding, protecting insulation batts and interior drywall from hidden water leaks. Upgrading perimeter glass openings dramatically elevates curb appeal while delivering immediate operational energy savings across every season of the year.
Phase 4: Advanced Solar Control and Thermal Glazing
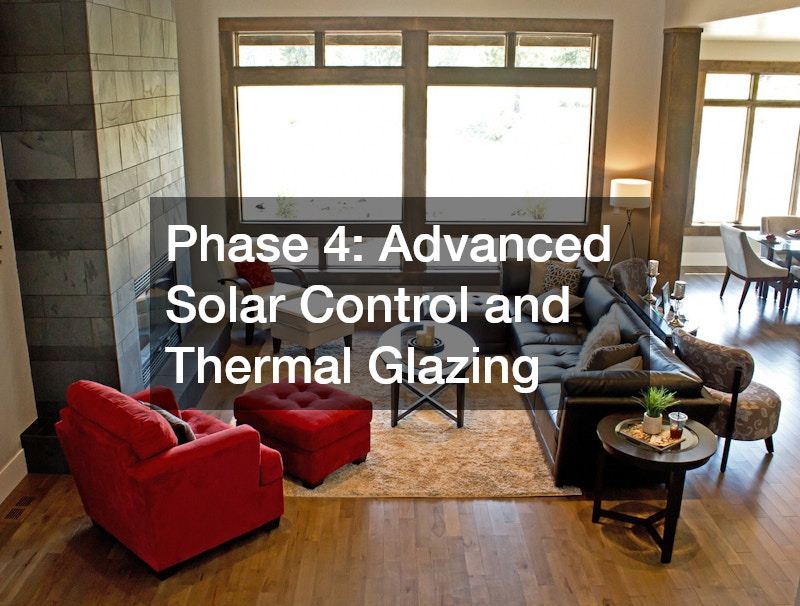
Even high-performance clear glass permits direct solar heat and destructive ultraviolet light to penetrate interior living spaces. Direct sun exposure rapidly fades organic hardwood stains, bleaches custom upholstery, and forces mechanical cooling systems to work overtime during hot summer heatwaves. Integrating custom residential window tinting applies a micro-thin ceramic or metallic film directly across exterior glass surfaces without altering natural light quality inside the home.
Professional window tinting blocks harmful solar radiation, eliminates harsh glare on electronic screens, and enhances daytime privacy from neighboring properties. Lowering thermal heat transmission through exterior glass lightens the continuous operational demand on central air conditioning units, reducing monthly electricity costs significantly. Completing solar control upgrades early ensures that interior furnishings and wood finishes remain protected from fading as interior work progresses. Modern tint formulations maintain high visual clarity from the inside while giving exterior glass a sleek finish that enhances overall building performance and curb appeal.
Phase 5: Reclaiming Space Through Vertical Expansion
Unused overhead volume beneath roof rafters represents one of the most practical opportunities for adding valuable living space without expanding a building’s ground footprint. Transforming a dark, drafty attic into a fully conditioned living area demands careful structural planning to safely carry new floor loads. Executing a successful attic buildout requires assessing ceiling joist depth, doubling floor joists where necessary, and framing code-compliant staircases for easy access.
During an attic buildout, installing continuous ridge ventilation, closed-cell spray foam insulation, and thick subfloor sheathing creates the structural foundation before interior partition walls are built. Incorporating dormers or structural roof lights brings natural illumination into upper spaces, converting unused storage areas into bright master bedrooms, quiet home offices, or private guest quarters. Expanding upward maximizes usable living square footage while preserving outdoor yard space and maintaining municipal setback boundaries. Careful spatial design turns underutilized ceiling height into a luxurious upper floor.
Phase 6: Subfloor Preparation and Solid Timber Flooring
Ground-level interior flooring endures constant foot traffic, heavy furniture loads, and shifting seasonal humidity levels, making material selection and floor prep critical. Laying down high-grade wood flooring requires a flat, clean, and thoroughly moisture-tested subfloor assembly. Partnering with an experienced hardwood flooring company ensures raw timber planks acclimate inside the home’s controlled climate prior to installation, minimizing future risks of warping, cupping, or gap creation.
A certified hardwood flooring company manages subfloor leveling, acoustic underlayment placement, layout alignment, and edge expansion gaps meticulously. Installing solid or engineered wood planks before setting kitchen cabinetry, baseboards, and interior door frames creates clean, continuous floor runs across open-concept layouts. Proper timber floor installation establishes a timeless physical foundation that elevates the home’s overall interior design quality while resisting daily wear and tear for decades. Beautiful wood textures bring organic warmth to every primary living area.
Phase 7: Kitchen Surface Engineering and Heavy Fabrication
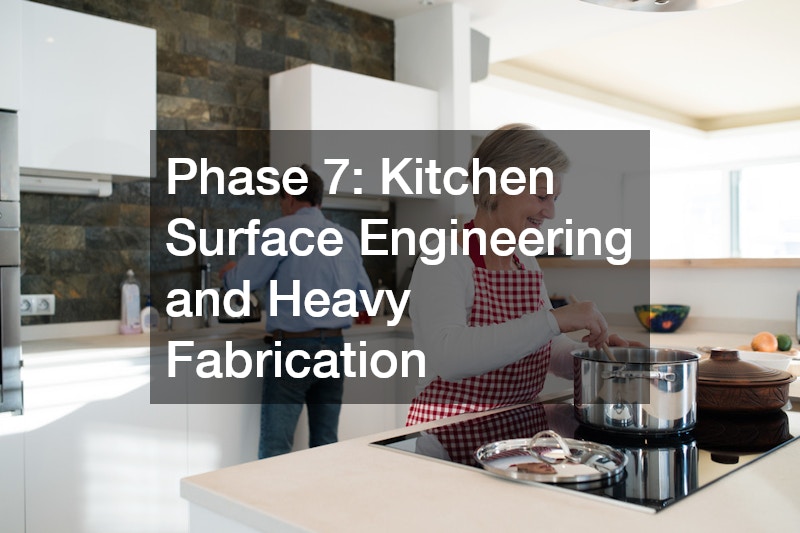
Kitchens and utility zones require resilient surfaces engineered to handle hot cookware, heavy appliances, liquid spills, and aggressive daily food prep. Selecting an appropriate countertop material strikes a balance between physical durability, stain resistance, and visual elegance. Non-porous quartz, solid granite, and quartzite remain top choices for active kitchen environments due to their exceptional heat resistance and low maintenance demands.
Precise laser measuring and custom edge profiling ensure exact fitment against base cabinetry, wall tiles, and undermount sinks. Setting a heavy stone countertop requires perfectly level base cabinets, reinforcing the importance of thorough subfloor leveling in prior renovation stages. Once anchored securely, high-grade counter surfaces serve as central work hubs, providing long-lasting utility while defining the visual character of the kitchen space. Custom stone selections bring distinct textures, rich organic colors, and functional warmth into the central culinary heart of the home, serving as a focal point for daily family gatherings.
Phase 8: Primary Bath Enhancements and Glass Enclosures
Modern bathrooms require robust waterproofing systems, fast drainage pathways, and high-end fixtures that withstand high daily humidity levels. Standard vinyl shower curtains often fail to contain water spray effectively in contemporary walk-in shower configurations. Installing customized shower doors crafted from thick, tempered safety glass elevates the room’s aesthetic feel while establishing an impenetrable splash barrier.
Heavy-duty stainless steel hardware, magnetic seals, and sweep channels prevent water from leaking onto surrounding subfloors, keeping tile surfaces dry, clean, and safe. Frameless shower doors also preserve open sightlines across smaller bathroom floor plans, making tiled shower stalls feel wide, bright, and inviting. Fitting glass panels after wall tile installation protects subfloors and framing from long-term moisture exposure while creating an effortless spa atmosphere. Clean glass lines complement modern bathroom fixtures perfectly.
Phase 9: Interior Lighting Management and Shading Systems
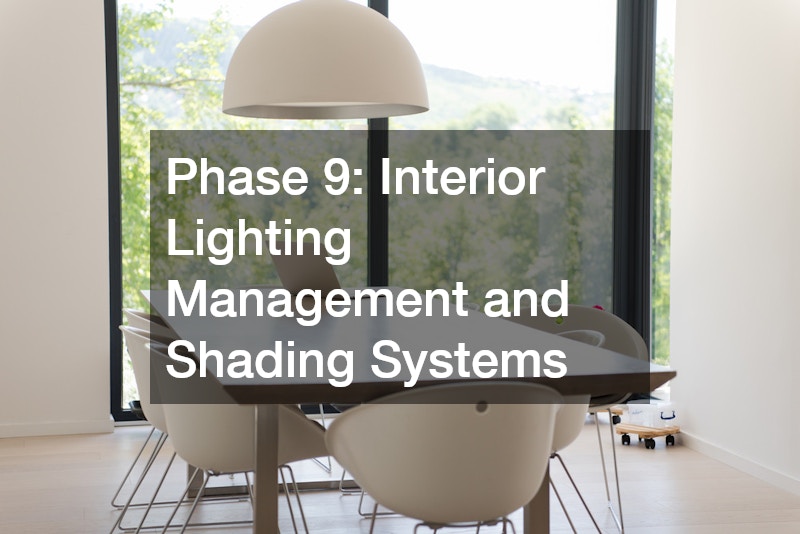
With major structural work, tile installation, and floor finishing completed, managing interior daylight and privacy becomes the primary focus. Uncontrolled sunlight creates annoying glare on television displays while causing uncomfortable solar heat build-up in south-facing bedrooms. Ordering a professional blind installation allows homeowners to regulate incoming natural light, direct air circulation, and maintain interior privacy with ease.
Custom motorized or manual shade treatments fit tightly within frame casings, preventing light leakage along outer edges. Executing a precise blind installation enhances daily living comfort while providing flexible shade options for home offices, bedrooms, and family rooms. Choosing light-filtering fabrics or warm wooden louvers complements neighboring wall colors, perimeter trim, and surrounding furniture styles while adding functional thermal insulation to every room. Tailored interior shades deliver effortless light control at any hour.
Phase 10: Multi-Space Continuity and Design Alignment
Maintaining visual and structural cohesion across multiple floors requires disciplined coordination between different trade specialists. Connecting a newly finished upper living area to primary main-level spaces demands seamless integration of flooring, wall trim, electrical wiring, and plumbing stacks. For example, during an upper attic buildout, mechanical contractors must route HVAC ducting and electrical conduit without cutting into load-bearing wall studs on main floor levels.
Similarly, working closely with a qualified hardwood flooring company ensures smooth, level transitions where wood planks meet hallway tiles or carpeted rooms. Installing flush threshold strips across doorway openings eliminates dangerous tripping hazards while maintaining clean architectural lines. Aligning initial structural plans with detailed surface finishing goals ensures every room connects naturally across the home’s layout while maintaining high acoustic insulation between living zones. Seamless transitions unify different living levels into one cohesive residential environment.
Phase 11: Final Accent Installations and Enclosure Fine-Tuning
The final phase of a whole-house overhaul focuses on completing secondary utility features, accent fixtures, and remaining shade systems. High-use spaces such as secondary guest baths or lower-level powder rooms require durable glass fixtures that stand up to routine daily use. Adding sleek shower doors to guest bathrooms maintains high design standards and protects tile surrounds from water overspray across every bathroom in the home.
At the same time, completing a secondary blind installation pass across remaining home offices, guest rooms, and utility spaces creates a uniform visual appearance from the street. Finishing these smaller tasks ensures every frame casing, glass panel, and light-control fixture operates smoothly. Finalizing these details completes the construction workflow, delivering a fully integrated, functional living space ready for immediate occupancy and long-term enjoyment.
Phase 12: Partnering with Trade Specialists for Value and Longevity
Managing a whole-house renovation successfully requires structured construction planning, realistic budget allocations, and skilled trade execution. Skipping core structural tasks or rushing into decorative finishes often leads to severe building defects and costly repairs later. Partnering with experienced remodeling companies ensures that trade professionals complete structural, plumbing, electrical, and finish stages in the correct logical sequence.
From early exterior drainage improvements down to final interior adjustments, professional project management safeguards capital investments and prevents unnecessary construction delays. Furthermore, ensuring correct frame installation around every exterior window minimizes long-term heating loss while protecting internal wall cavities from environmental moisture. Following a comprehensive masterplan transforms aging residential structures into resilient, energy-efficient, and beautifully detailed homes built to last for generations. Quality craftsmanship pays dividends in daily comfort, safety, and overall market value.