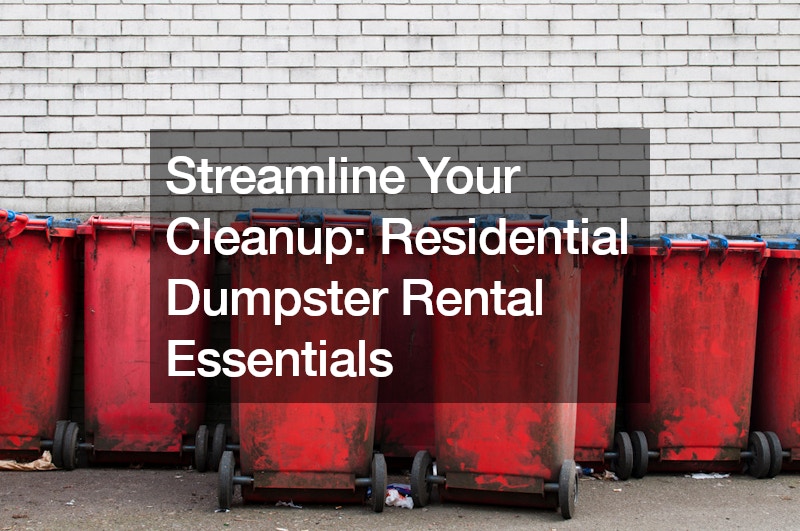
Tackling a major home improvement project, spring cleaning the entire house, or clearing out a cluttered garage can be daunting. The sheer volume of debris can quickly overwhelm your regular trash disposal routine. This is where a residential dumpster rental comes in.
A residential dumpster rental provides a temporary solution for managing large amounts of waste generated by various household projects. However, to ensure a smooth and efficient experience, some planning and preparation are key.
Here’s a comprehensive guide to streamline your residential dumpster rental and make your cleanup project a success.
Understanding Your Project and Waste Needs
The first step is to assess your project and estimate the volume of waste it will generate. Different dumpster sizes are available for residential rentals, typically ranging from 10 to 40 yards. Here’s a breakdown of some common projects and their corresponding dumpster size recommendations:
Small Cleanup Projects: Decluttering a room, yard waste removal, or minor renovations may require a 10-yard dumpster. Medium-Sized Projects: Bathroom or kitchen remodels, large appliance disposal or extensive yard work might necessitate a 15-yard or 20-yard dumpster. Large-Scale Projects: Whole-house renovations, roof replacements, or major landscaping projects may require a 30-yard or 40-yard dumpster. Choosing the Right Dumpster Rental Company
With various companies offering residential dumpster rentals, choosing a reliable and reputable provider is crucial. Consider the following factors during your selection process:
Company Reputation: Research online reviews and customer feedback to get a sense of the company’s service quality, responsiveness, and reliability. Dumpster Sizes Offered: Ensure the company provides a dumpster size that caters to your estimated waste volume. Pricing and Fees: Compare pricing structures of different companies, including any additional fees for exceeding weight limits or extended rental periods. Delivery and Pickup Services: Confirm the process for dumpster delivery and pickup, including accessibility on your property and any specific time windows. Permitted Waste Materials: Understand the company’s guidelines on acceptable waste materials. Hazardous materials, electronics, and certain liquids may require special disposal procedures. Preparing Your Property for the Dumpster
Once you’ve chosen a dumpster rental company and scheduled delivery, prepare your property for the arrival:
Clear the Placement Area: Choose a flat, level surface easily accessible for the dumpster delivery truck. Ensure there are no overhead wires or obstacles that could impede placement. Obtain Necessary Permits (if applicable): In some municipalities, permits might be required to place a dumpster on your property. Check with your local authorities to avoid any last-minute delays. Protect Your Driveway (Optional): While not always necessary, consider laying down plywood or cardboard under the dumpster to protect your driveway from potential scratches or stains. Maximizing Your Residential Dumpster Rental
To make the most out of your residential dumpster rental, follow these tips:
Sort Your Waste: Separate your waste into acceptable and unacceptable materials per the rental company’s guidelines. This helps avoid additional fees for sorting or improper disposal. Break Down Large Items: Disassemble furniture or break down large boxes to maximize space within the dumpster and ensure easier loading. Utilize the Entire Depth: Don’t just pile waste on top; strategically fill the dumpster by tossing heavier items first and utilizing the full depth available. Cover the Dumpster When Not in Use: This prevents windblown debris from scattering and discourages animals from rummaging through the dumpster. Post-Rental Considerations: Ensuring a Smooth Conclusion
Once your project is complete and the dumpster is filled, the rental period typically ends with a scheduled pickup. Here’s what to keep in mind:
Final Weight Considerations: Be mindful of the weight limit associated with your chosen dumpster size. Exceeding the limit might incur additional charges. Schedule the Pickup: Contact the rental company to schedule a convenient time for dumpster pickup. Property Cleanup: Once the dumpster is removed, ensure you clean up any remaining debris around the placement area. Beyond the Essentials: Additional Tips for Success
Here are some final tips to further streamline your residential dumpster rental process:
Plan Ahead: Reserve your dumpster rental well before your project start date, especially during peak seasons. Communicate Clearly: Maintain clear communication with the rental company regarding delivery, pickup times, and any questions you might have. Consider Responsible Disposal: If your project involves hazardous materials or electronics, research proper disposal methods to avoid putting them in the dumpster. Be Mindful of Neighbors: Large dumpsters can be visually intrusive. Consider notifying your neighbors before the rental period to minimize any inconvenience. Recycle Whenever Possible: While a dumpster rental is ideal for bulk waste disposal, recycle materials like cardboard, paper, and plastic whenever possible. This reduces your overall waste footprint and promotes environmental responsibility. Embrace the Cleanup Party: Turn your cleanup project into a social gathering! Invite friends or family to help with the sorting and loading process. Offer refreshments and make it a fun and collaborative effort. Conclusion: A Streamlined Cleanup Awaits
Following these essential tips and incorporating the additional pointers can ensure a smooth and efficient residential dumpster rental experience. From accurately assessing your project needs to choosing the right company and maximizing the dumpster’s capacity, a well-planned approach will streamline your cleanup project and save you valuable time and energy. So, embrace the convenience of a residential dumpster rental, and get ready to tackle your next big project with confidence and a newfound sense of organization!
.

