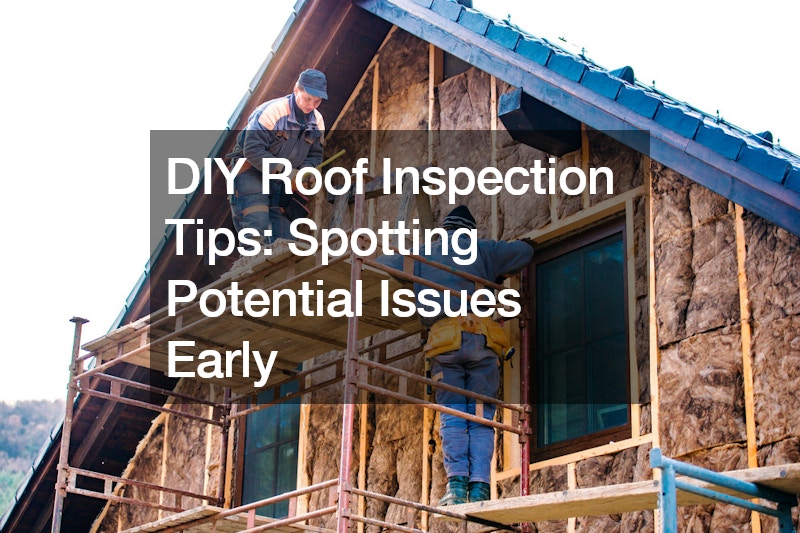
Taking care of your home includes keeping a close eye on your roof. Regular inspections can help you catch potential issues early, saving you from costly repairs down the road. Whether you’re a new homeowner or looking to maintain your property, understanding how to inspect your roof is crucial. This guide will walk you through DIY roof inspection tips to spot potential issues early and ensure your roof stays in top condition.
Understanding the Importance of Roof Inspections
Your roof is your home’s first line of defense against the elements. Over time, exposure to sun, rain, wind, and snow can cause wear and tear on your roof materials.
Inspecting your roof periodically allows you to identify any signs of damage or deterioration promptly. This proactive approach can prevent leaks, structural damage, and the need for extensive roof replacement.
When to Conduct a Roof Inspection
Regular roof inspections should ideally be conducted twice a year, typically in the spring and fall. These times are optimal as they allow you to assess any damage from winter weather and prepare for the upcoming seasons. Additionally, after severe weather events such as storms with high winds or hail, it’s essential to inspect your roof for any new damage.
DIY Roof Inspection Checklist
- Examine Shingles: Start by visually inspecting your shingles. Look for any signs of damage such as cracks, curling, blistering, or missing shingles. Pay attention to areas where shingles may be loose or lifted, as these can be entry points for water.
- Check for Granule Loss: Run your hand gently over the shingles to check for granule loss. Granules protect the asphalt shingles from UV rays and weathering. Loss of granules can indicate aging shingles that may need replacement.
- Inspect Flashing: Flashing is the metal or other material installed around chimneys, vents, and skylights to prevent water from seeping into the joints. Check for any signs of rust, corrosion, gaps, or loose flashing that could lead to leaks.
- Look at the Roof Valley: The roof valley is where two sloping roof planes meet. Inspect this area closely for debris buildup, damaged shingles, or signs of wear. Problems in the roof valley can lead to water pooling and leaks.
- Check Gutters and Downspouts: Clean gutters and downspouts regularly to ensure proper drainage. Clogged gutters can cause water to overflow, leading to water damage to your roof and home’s foundation.
- Inspect Attic or Ceiling: Inside your home, check the attic or ceiling for signs of water stains, mold, or moisture. These indicate potential roof leaks that need to be addressed promptly.
- Evaluate Roof Penetrations: Pay attention to areas where the roof is penetrated by vents, pipes, or satellite dishes. Ensure seals around these penetrations are intact and there are no signs of damage or deterioration.
- Look for Popped Nails: Examine the roof surface for any nails that have popped up. Popped nails can create openings for water to seep into the roof structure, leading to leaks and potential damage.
- Assess the Condition of Roof Components: Check the condition of roof components such as ridge vents, ridge caps, and fascia boards. Make sure they are securely in place and not damaged.
Addressing Issues Early
If you notice any signs of damage or deterioration during your roof inspection, it’s essential to address them promptly. Small issues like cracked shingles or minor leaks can often be repaired quickly and inexpensively. Ignoring these problems can lead to more extensive damage requiring costly roof replacement.
When to Call a Professional
While DIY roof inspections are valuable, some issues may require the expertise of roofing companies. If you’re uncomfortable walking on your roof, unsure about what you’re seeing, or notice significant damage, it’s best to consult a professional roofer. They can provide a thorough inspection, identify hidden issues, and recommend the appropriate repairs or roof replacement if necessary.
Conclusion
Regular DIY roof inspections are a proactive way to protect your home and ensure your roof remains in good condition. By following these simple tips and staying vigilant, you can spot potential issues early and address them before they escalate into costly problems. Remember, maintaining your roof is an investment in the longevity and value of your home.
By taking the time to inspect your roof regularly, you can catch minor issues before they become major headaches. Whether you’re inspecting after a storm or as part of your seasonal maintenance routine, these tips will help you keep your roof in excellent shape for years to come.
.
